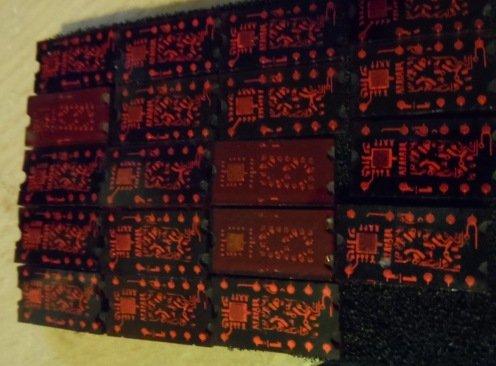
Many moons ago I used to use the Til311 hexadecimal display quite frequently, it used to be a useful part to start experimenting building basic microcontroller examples. As you can see I have a few of these at hand
So I thought lets hook one up to an Arduino and see what we can do.
Description
Ok the key thing is the wiring here, from the code below you can see the pins I used for the latches and the blanking input,
#define BLANK_INPUT 6
#define LATCH_DATA_A 2
#define LATCH_DATA_B 3
#define LATCH_DATA_C 4
#define LATCH_DATA_D 5
The Latch Strobe Input pin I connected to Ground
From the data sheet about the Latch Strobe Input
When low, the data in the latches follow the data on the latch data inputs. When high,the data in the latches will not change. If the display is blanked and then restored while the enable input is high, the previous character will again be displayed
Datasheet
Code
/* Control */
#define BLANK_INPUT 6
/* Latches */
#define LATCH_DATA_A 2
#define LATCH_DATA_B 3
#define LATCH_DATA_C 4
#define LATCH_DATA_D 5
void display (uint8_t value)
{
/* Send data to the latch */
digitalWrite (LATCH_DATA_A, bitRead (value, 0));
digitalWrite (LATCH_DATA_B, bitRead (value, 1));
digitalWrite (LATCH_DATA_C, bitRead (value, 2));
digitalWrite (LATCH_DATA_D, bitRead (value, 3));
}
void setup ()
{
//setup the pins
pinMode (BLANK_INPUT, OUTPUT);
pinMode (LATCH_DATA_A, OUTPUT);
pinMode (LATCH_DATA_B, OUTPUT);
pinMode (LATCH_DATA_C, OUTPUT);
pinMode (LATCH_DATA_D, OUTPUT);
digitalWrite (BLANK_INPUT, LOW);
}
void loop ()
{
static byte i = 0;
display (i++);
if (i> 15) i = 0;
delay (1000);
}
Example in Action
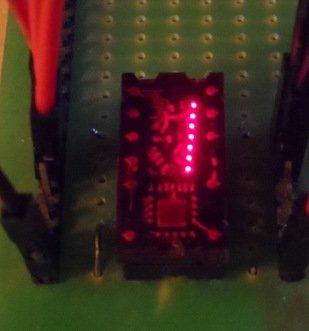
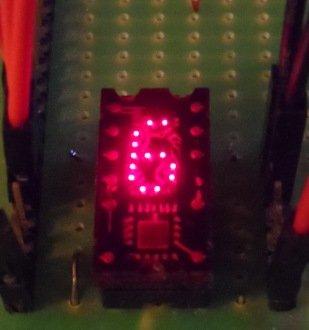
Here you can see the numbers 1 and 6 displayed, the example will cycle from 0 to F.
Links
super9shop TIL311 Hexadecimal Display from Amazon UK
Set of 1 Piece LED DISPLAY TIL311 from Amazon US
TIL311 on Ebay US


